
The process behind: Fern Flower
While I'm working on two new dolls, I thought it would be interesting to reflect on my doll making process and let you peek behind the curtain. This time I'll be talking about my first porcelain BJD - Fern Flower. If you're interested to learn more about porcelain dolls, check out my article "How to create a porcelain ball-jointed doll?"

This post contains affiliate links and I will be compensated if you make a purchase after clicking on my links. I wouldn’t promote anything I don’t absolutely love!
Idea
Nymphai dolls are inspired by lush nature and the nymphs that guard it. Because of this mythical aspect I've wanted to create a doll that not just reflects nature but highlight the magic that happens there. I guess my Lithuanian roots played a huge part too because I chose one of the most popular nature-related legends we have. According to legend in Baltic and Slavic cultures, the fern flower blossoms on the eve of the summer solstice. Even though the fern is not a blossoming plant, on that magical night in the most distant patch of a forest it bursts into bloom. Countless living beings try to find this delicate flower which brings earthly riches, power and supernatural wisdom. That being said, the fern flower is well guarded by all the forest creatures, animals, spirits, and nymphs who are waiting for this moment all year. Only the most careful and courageous ones could attempt to find the blossom before it vanishes into thin air.
Process
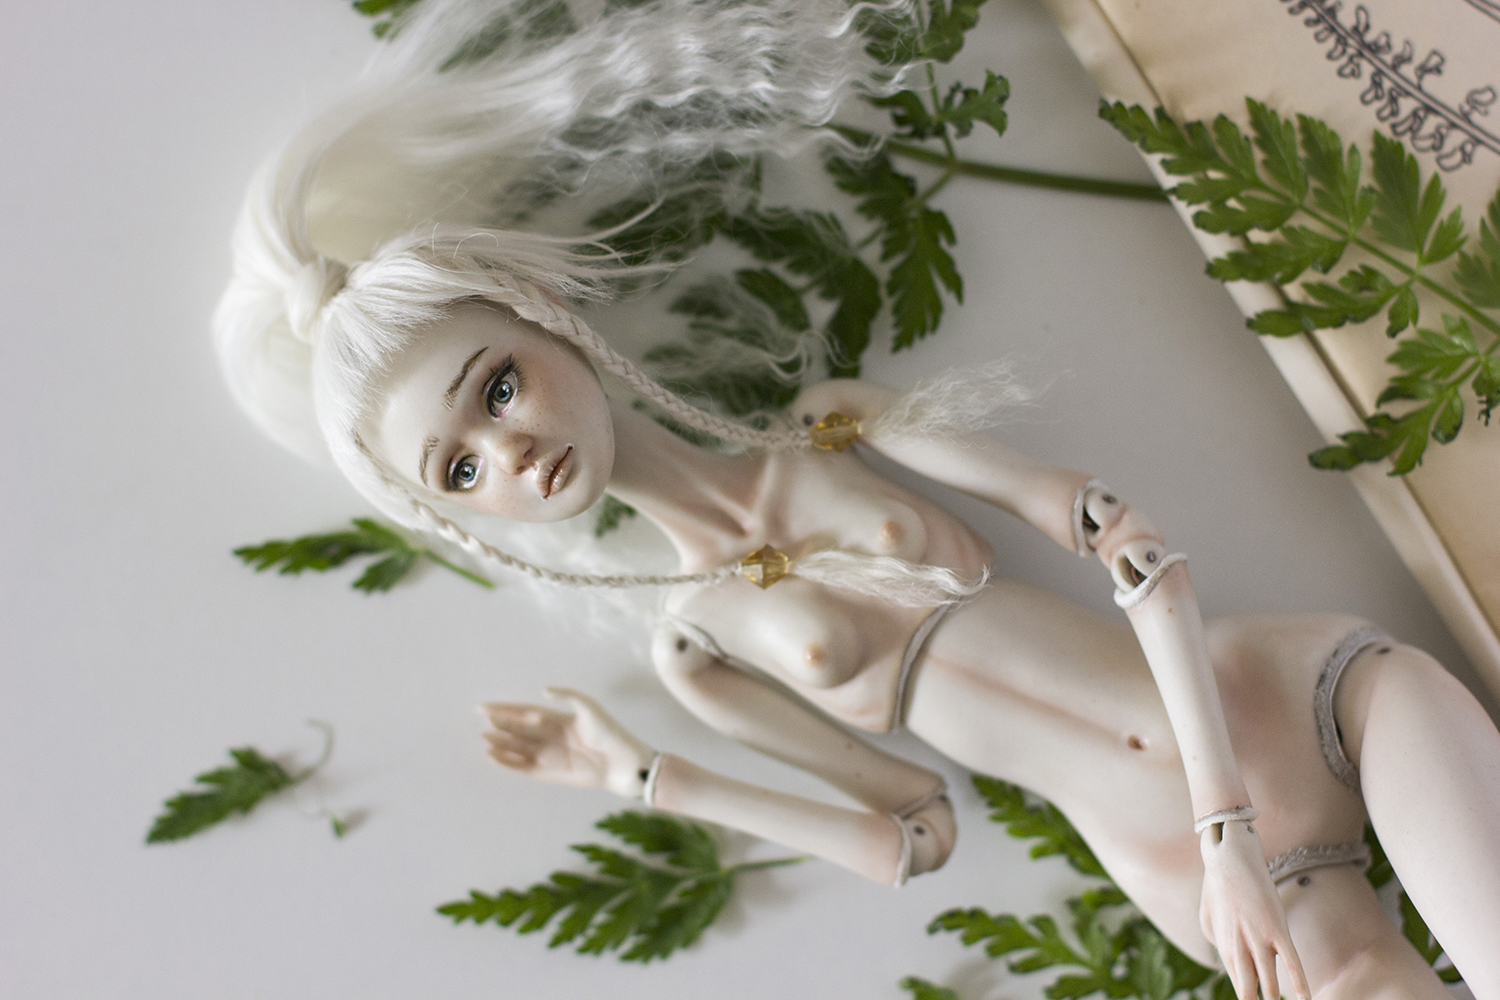
Because it was my first doll, everything seemed so new and unfamiliar. After pouring the molds with porcelain and successfully taken them out, I managed to ruin a few pieces in the kiln. Some of them developed strange black specs, others deformed because of the temperature being too high.
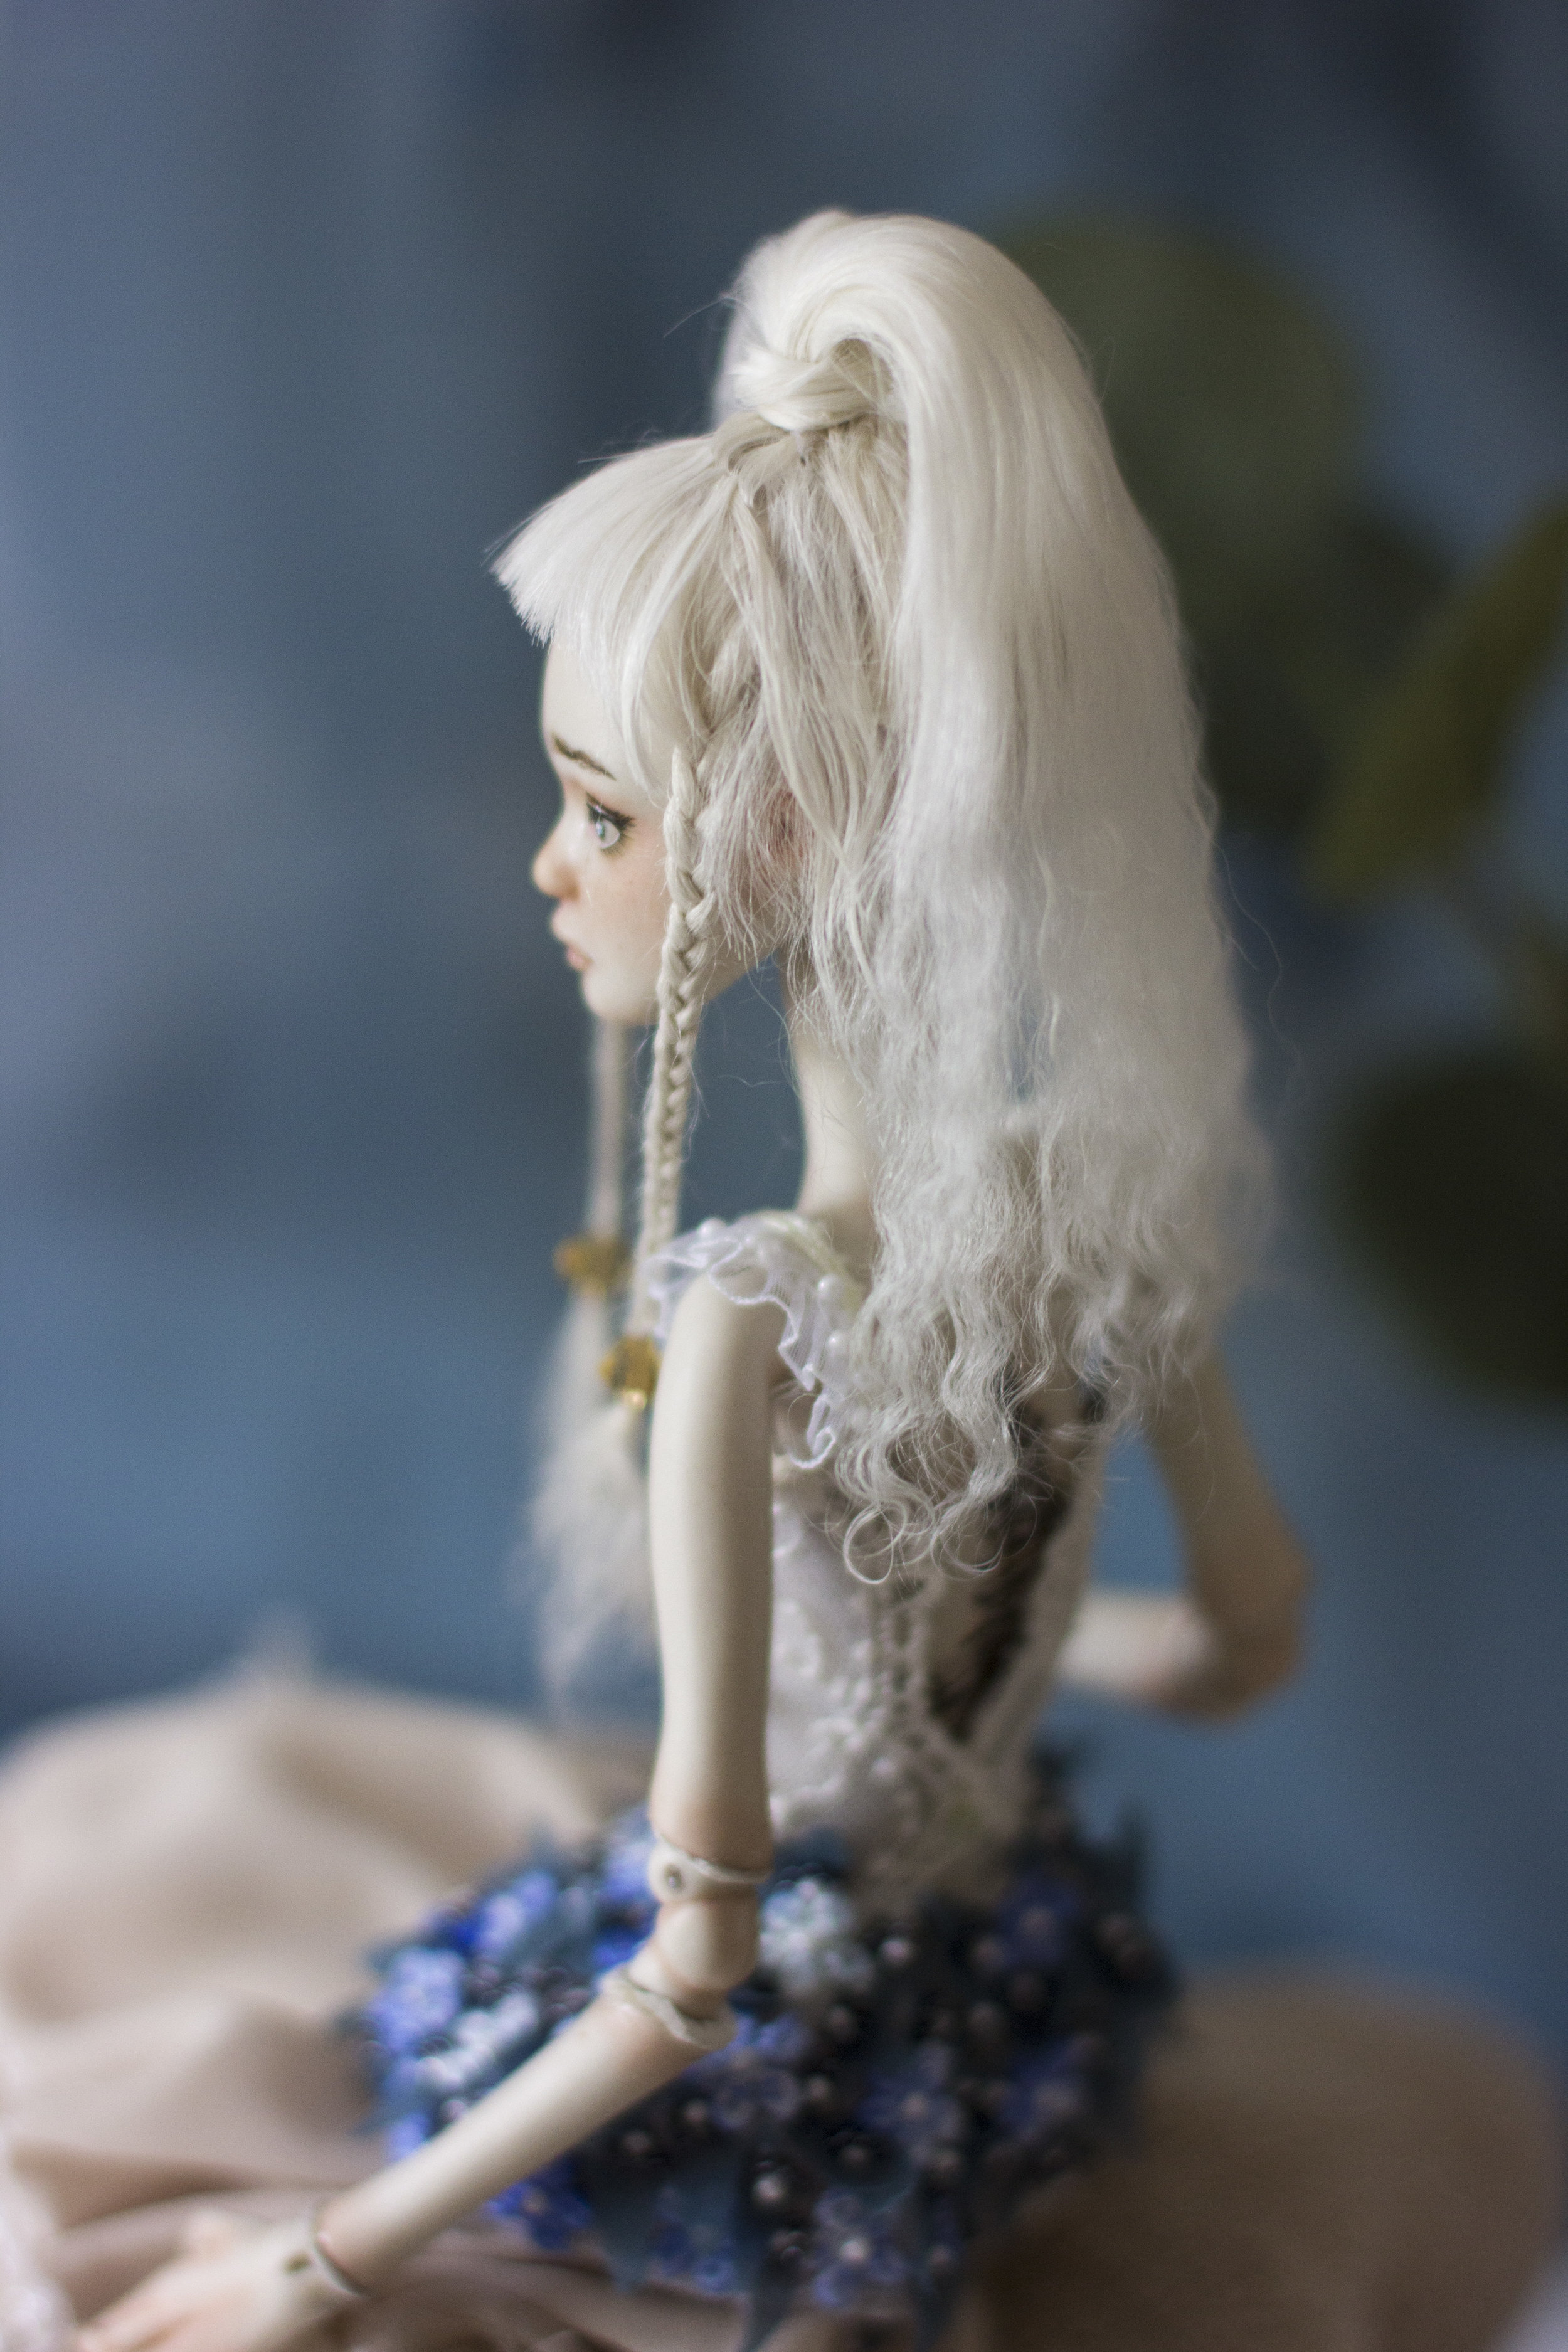
When I finally had the perfect pieces ready I've started painting them. I knew it could take a lot of layers to get the colours you want, but I couldn't imagine how long the process really is. It took me a month to paint one doll! Each layer has to be fired in the kiln which takes about 6 hours to fire and another 10 hours to cool down. I love how translucent and soft the china paints look after firing them in the kiln so all those layers and hard work really pays off when you look at the finished doll. It took me six layers of paint to create the face I've imagined for her. I think what really helped me is that I'm quite light handed when painting. I like calm and natural colours and avoid harsh strokes.
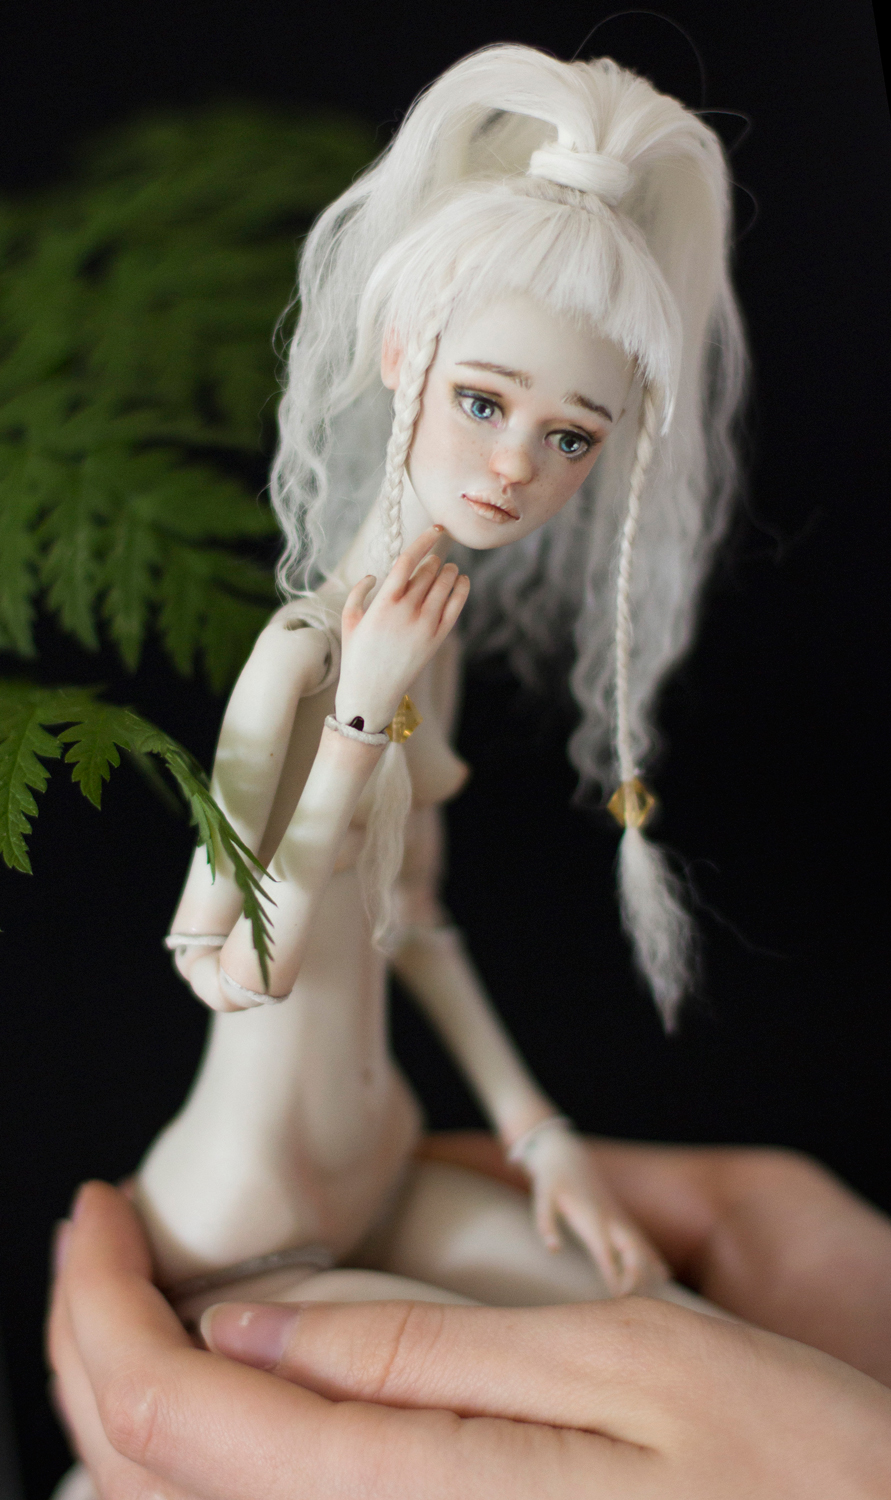
Assembling the doll was another difficulty for me. Figuring out the perfect tension to hold the doll together and let her move easily was challenging. After two days I finally figured it out so my new dolls should come together much easier.
Costume

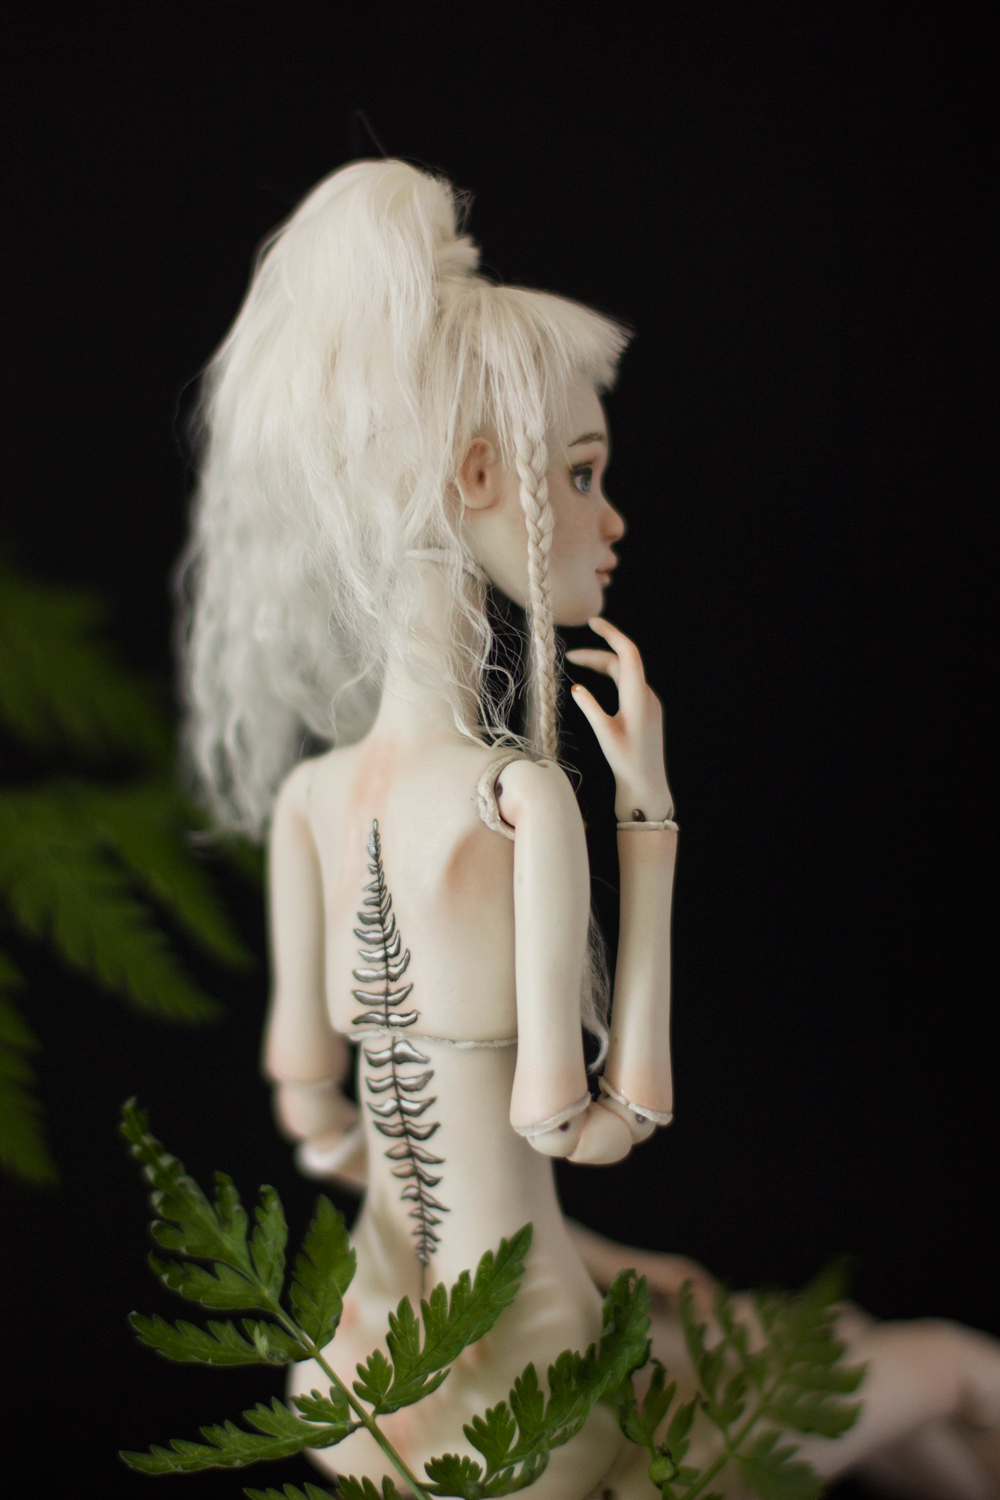
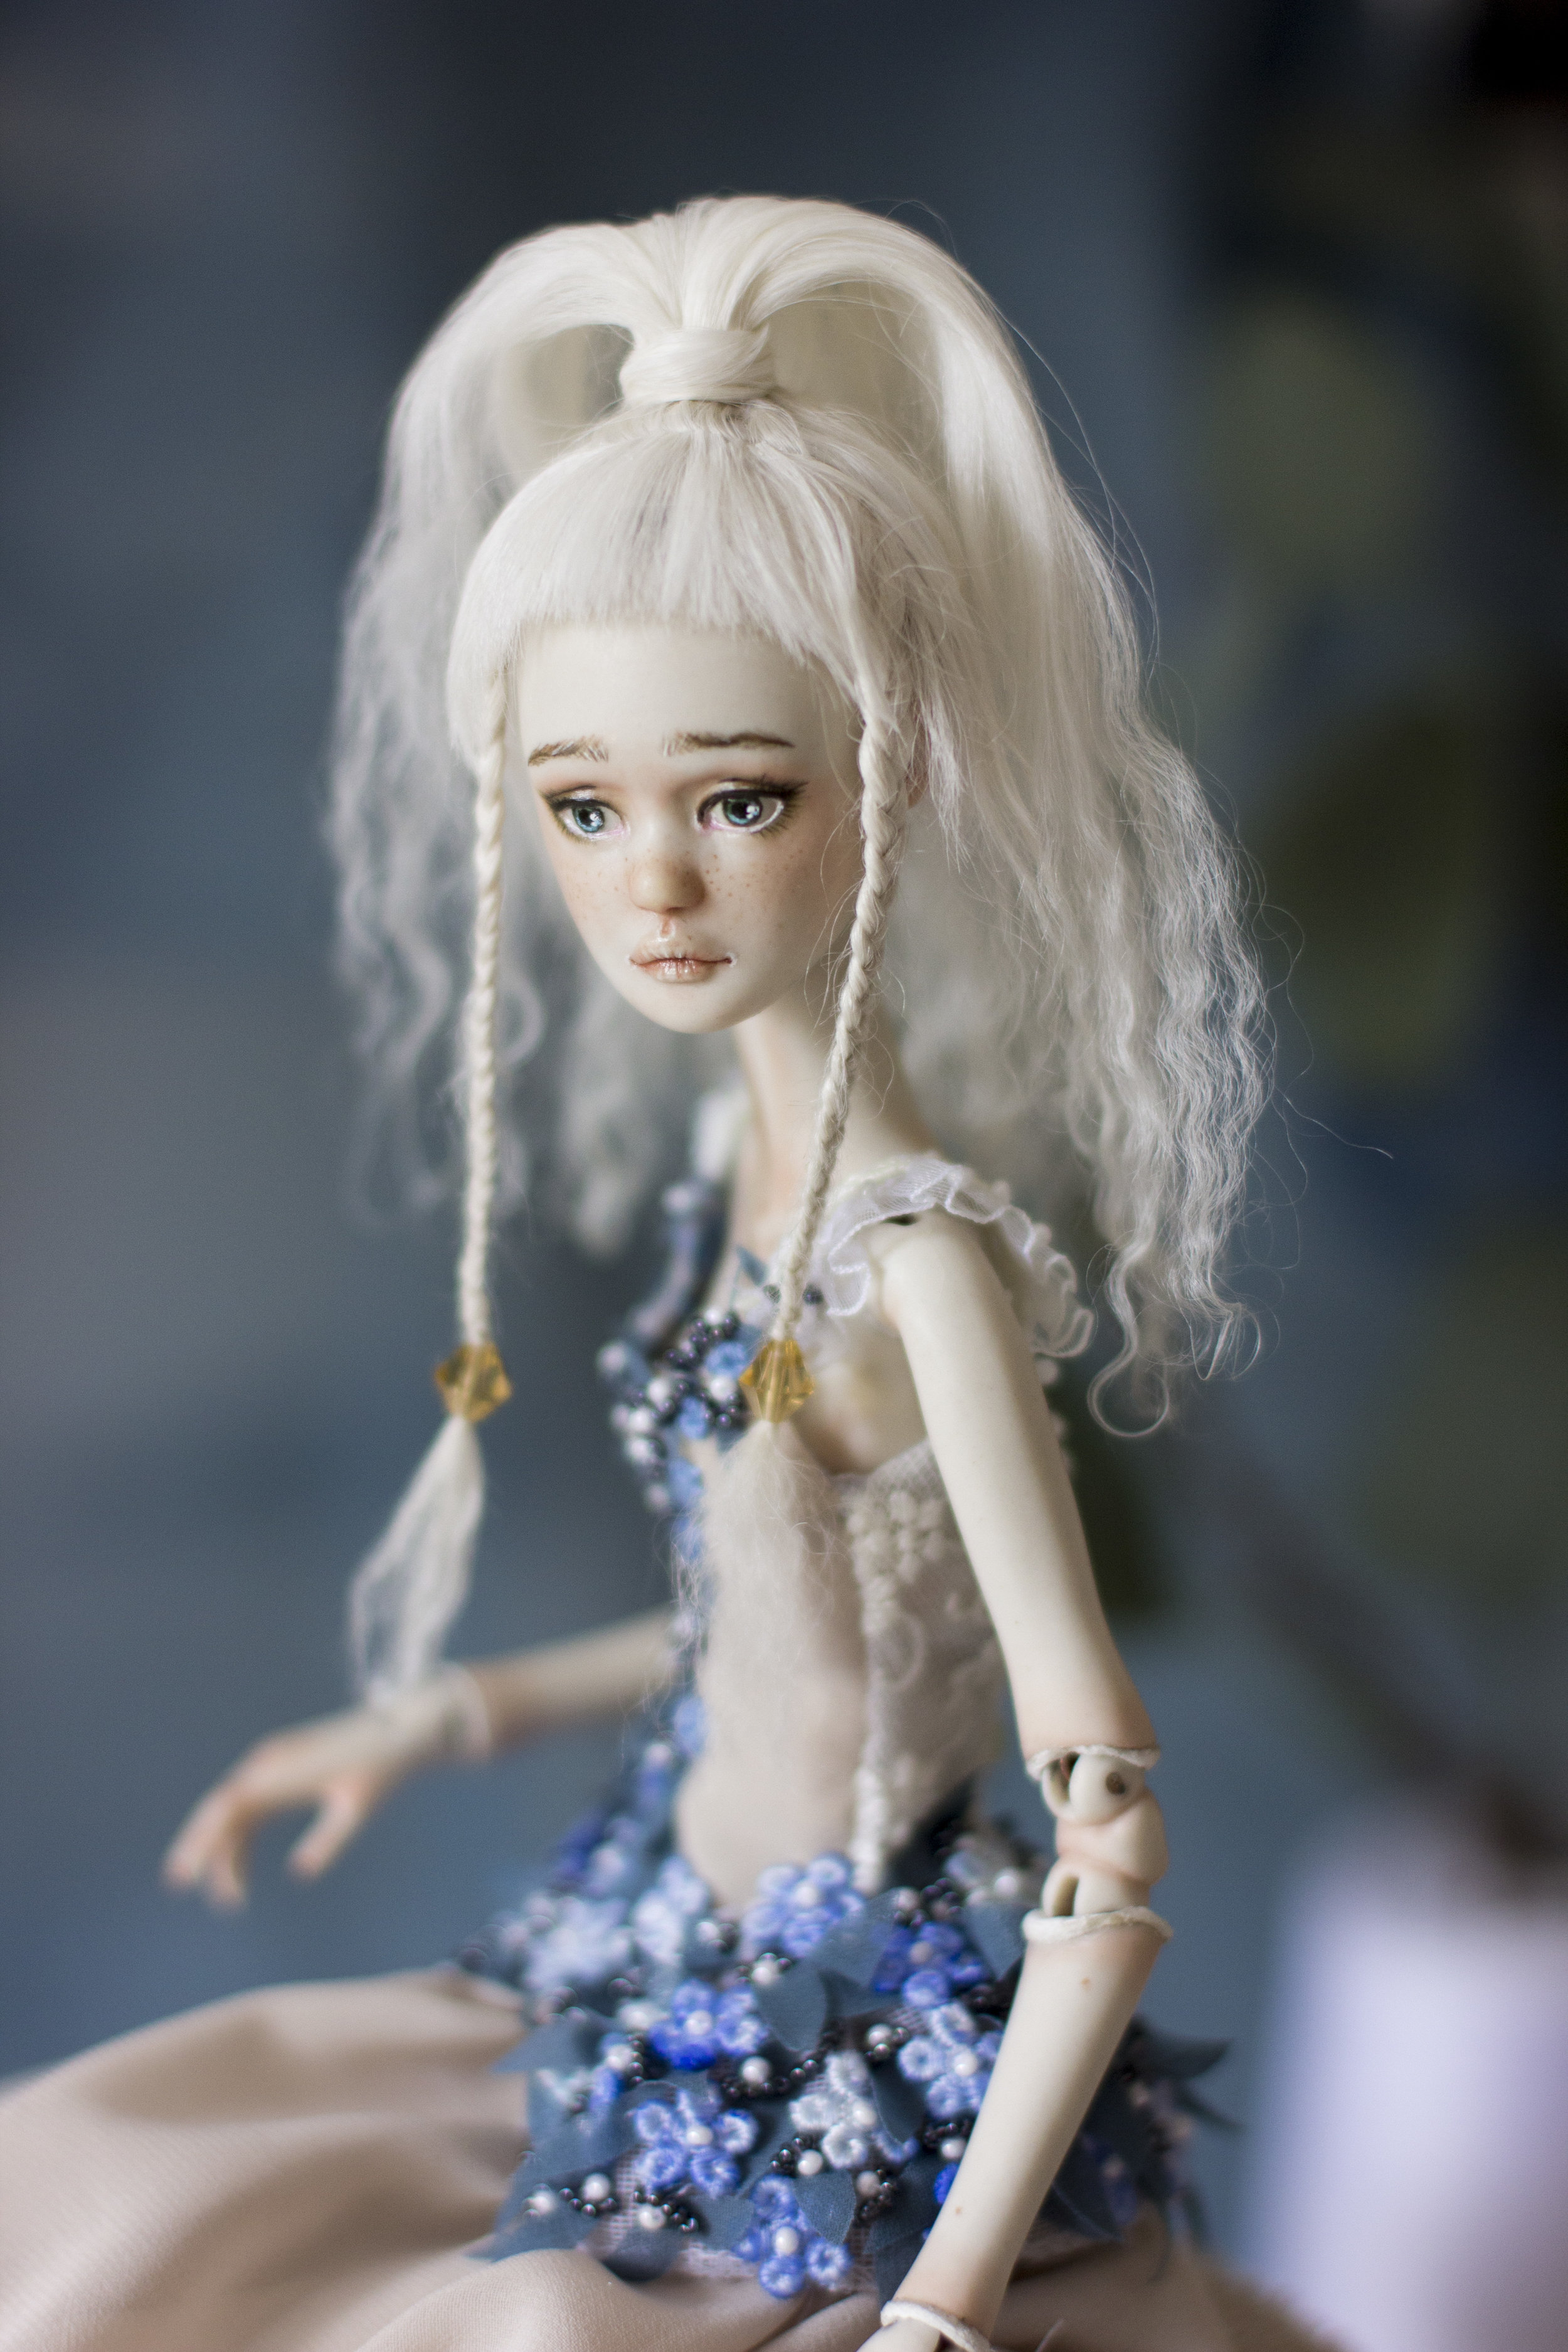
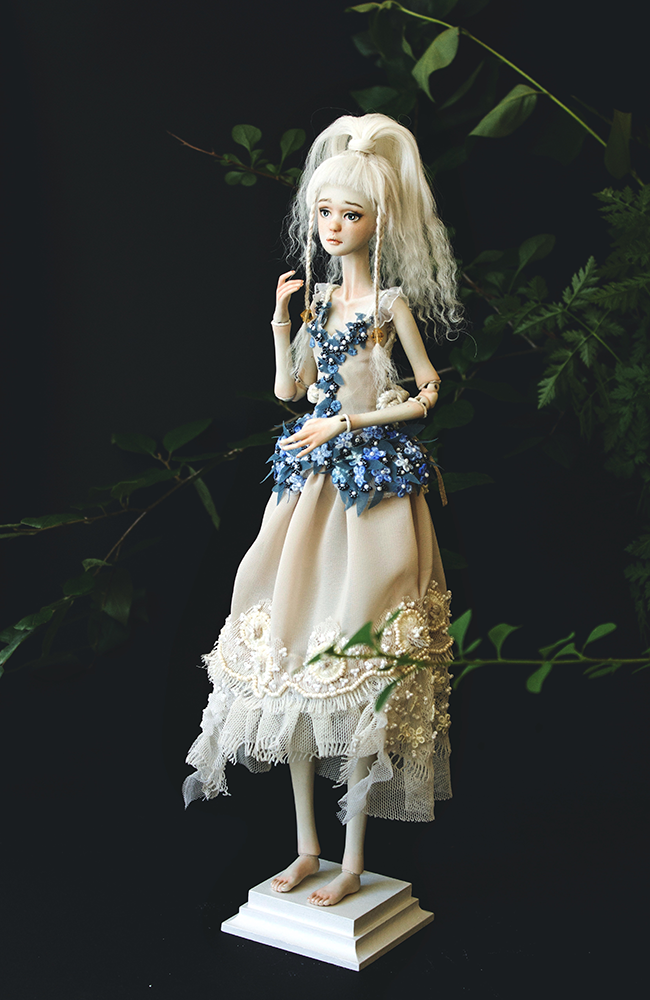
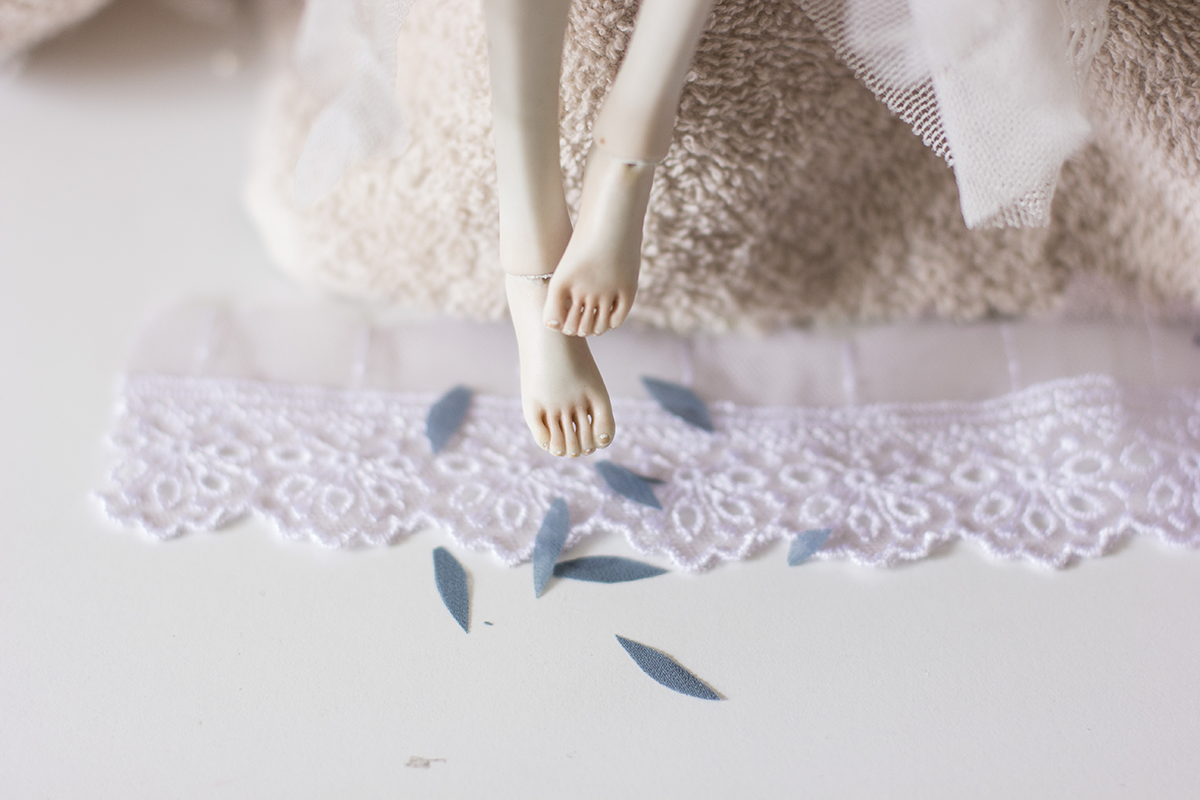
One of my favourite parts of doll making is designing the fairy-like garments, sewing, beading and embroidering. I believe that costume gives so much character to the doll and all the intricate details are stimulating not just the creator but the viewer as well. I've wanted to create a costume which would represent the beauty and the magic of fern flower. I liked the idea of temporary nature of the dress - if you strip away all the garments you're left with a doll with a fern tattoo. Similarly like the fern blossoms just for one night and then returns to being simple and plain plant right after. I wanted to capture that otherworldly moment in one small dress.

Let me know in the comments if you're creating something! I'd love to hear your process and interesting details that are not always visible to others. Don't forget to subscribe for my monthly letters and join the tribe.