

Craft your dream doll

Learn the delicate art of ball-jointed doll making through step-by-step online courses. Guided by me, Adele, a doll artist passionate about helping you turn your creative vision into a timeless piece of art.
Three Courses. One Complete Journey.
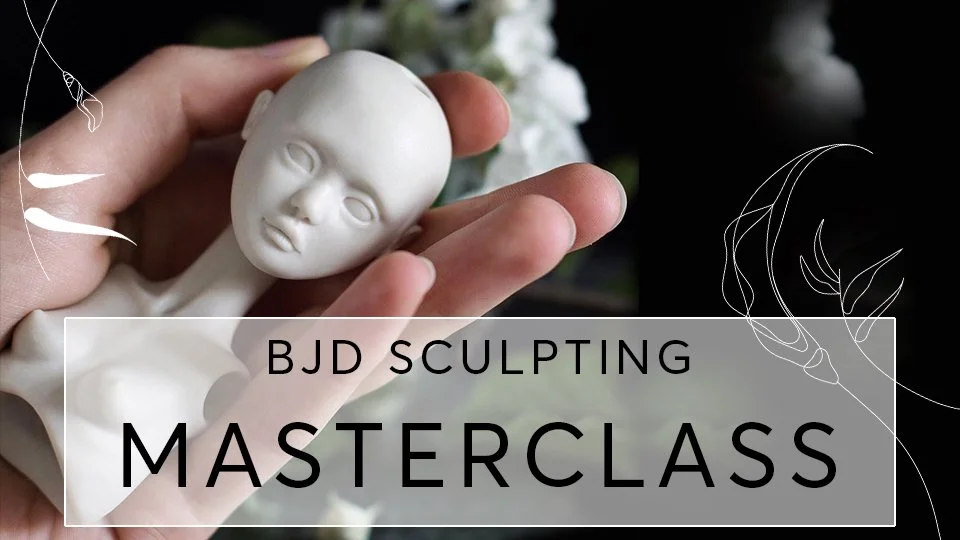
BJD sculpting masterclass
The BJD Sculpting Masterclass offers a comprehensive and informative learning experience, covering all the techniques I use to sculpt ball-jointed dolls. You'll find step-by-step photos, video tutorials, and anatomy lessons to guide you through creating your own ball-jointed doll.
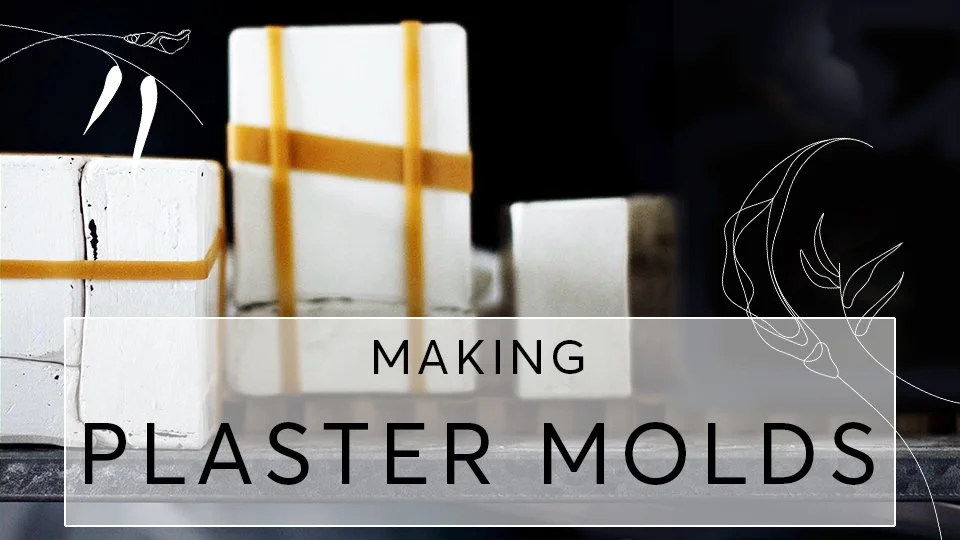
MAKING PLASTER MOLDS
Mold-making can be a tedious and time-consuming process, requiring some math and spatial thinking. However, it becomes much less daunting once you grasp the fundamental techniques. In this course, I'll guide you step-by-step through creating plaster molds for each part of a ball-jointed doll. We’ll cover materials, techniques, and potential challenges along the way. By the end of the course, you'll be fully equipped to cast your own porcelain dolls!
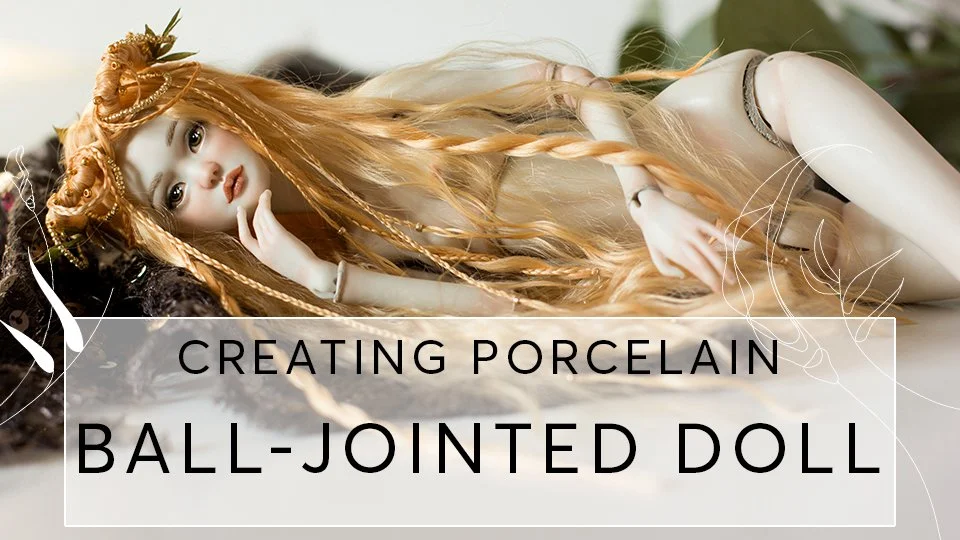
Creating Porcelain BJD
If you've ever dreamt of creating a doll that not only stands the test of time but also captures beauty, artistry, and craftsmanship, this course is for you. As an artist who has dedicated years to mastering the delicate process of doll-making, I'm here to share my passion with you and guide you through every step of creating your own porcelain ball-jointed doll.
Meet Your Teacher - Adele Po
For me, dolls are more than objects - they are carriers of stories, emotions, and dreams. I’ve spent years mastering the craft of porcelain doll making, combining traditional techniques with my own artistic voice.
My work has found homes in collections around the world, but what truly fulfills me is guiding others to create dolls of their own. Teaching has shown me that with the right guidance, anyone can transform an idea into a delicate porcelain treasure.


Not Ready to Start Yet? Get Inspired First.


Frustrating and rewarding - the intricate art of sculpting hands
28 pages and more than 80 pictures of step-by-step guides, anatomy lessons and my favourite techniques for sculpting hands.
+BONUS: lesson about making perfect ball joints
If you have ever seen a ball-jointed doll, maybe you noticed that these lovely dolls have the most characteristic and beautifully sculpted hands. I offer you a chance to learn how to sculpt hands as a BJD artist!
We will delve deep into two of my favourite sculpting techniques. I'll show you each step of the process and back up my teachings with anatomy lessons. This tutorial is best for those who have a little bit of sculpting experience or are very determined beginners. Sculpting hands is not easy, but with patience and persistence, everyone can learn how to do it. Let's sculpt some hands!
My students from my BJD sculpting masterclass get this information for free. If you're a student, download it from there.
MATERIALS:
In this tutorial, I'm using air-dry clays. Some of the techniques work best with air-dry clays so if you decide to use polymer clay, have that in mind and tweak the process as you follow the tutorial.
1. Your favourite clay. I'm using air-dry clay "La Doll". My other choices would be "Creative Paperclay" or "Premiere".
2. Thin wire. I'm using 22-gauge (it can vary from 20 to 24 gauges) bendable wire. It'll be easier if the pieces of wire are straight.
3. Sculpting tools. For sculpting, I use just one slightly pointy metal tool and a watercolour brush. It's not very common to use a brush for sculpting, but it's very hard to smooth out the clay in the tiny crevices of the hand with any other tool. So the brush works wonders!
4. X-acto knife or a scalpel. Air-dry clays are very easy to carve, so we'll use carving techniques a lot while detailing the hands.
5. "Super glue" or white "Elmers" glue. Some of the techniques will require a few drops of glue.
6. Sanding paper. Have a selection of medium and fine-grit sanding papers. Finer paper = smoother finish.
7. Round pliers and wire cutters. Small jeweler's pliers will be the best fit to bend thin and small pieces of wire.
8. Masking tape. We will be using the masking tape to hold pieces of wire together in the first sculpting technique. Any other paper tape will be OK as well.
Featured Product
Featured Product
Hand sculpting tutorial - ebook
Frustrating and rewarding - the intricate art of sculpting hands
28 pages and more than 80 pictures of step-by-step guides, anatomy lessons, and my favorite techniques for sculpting hands.
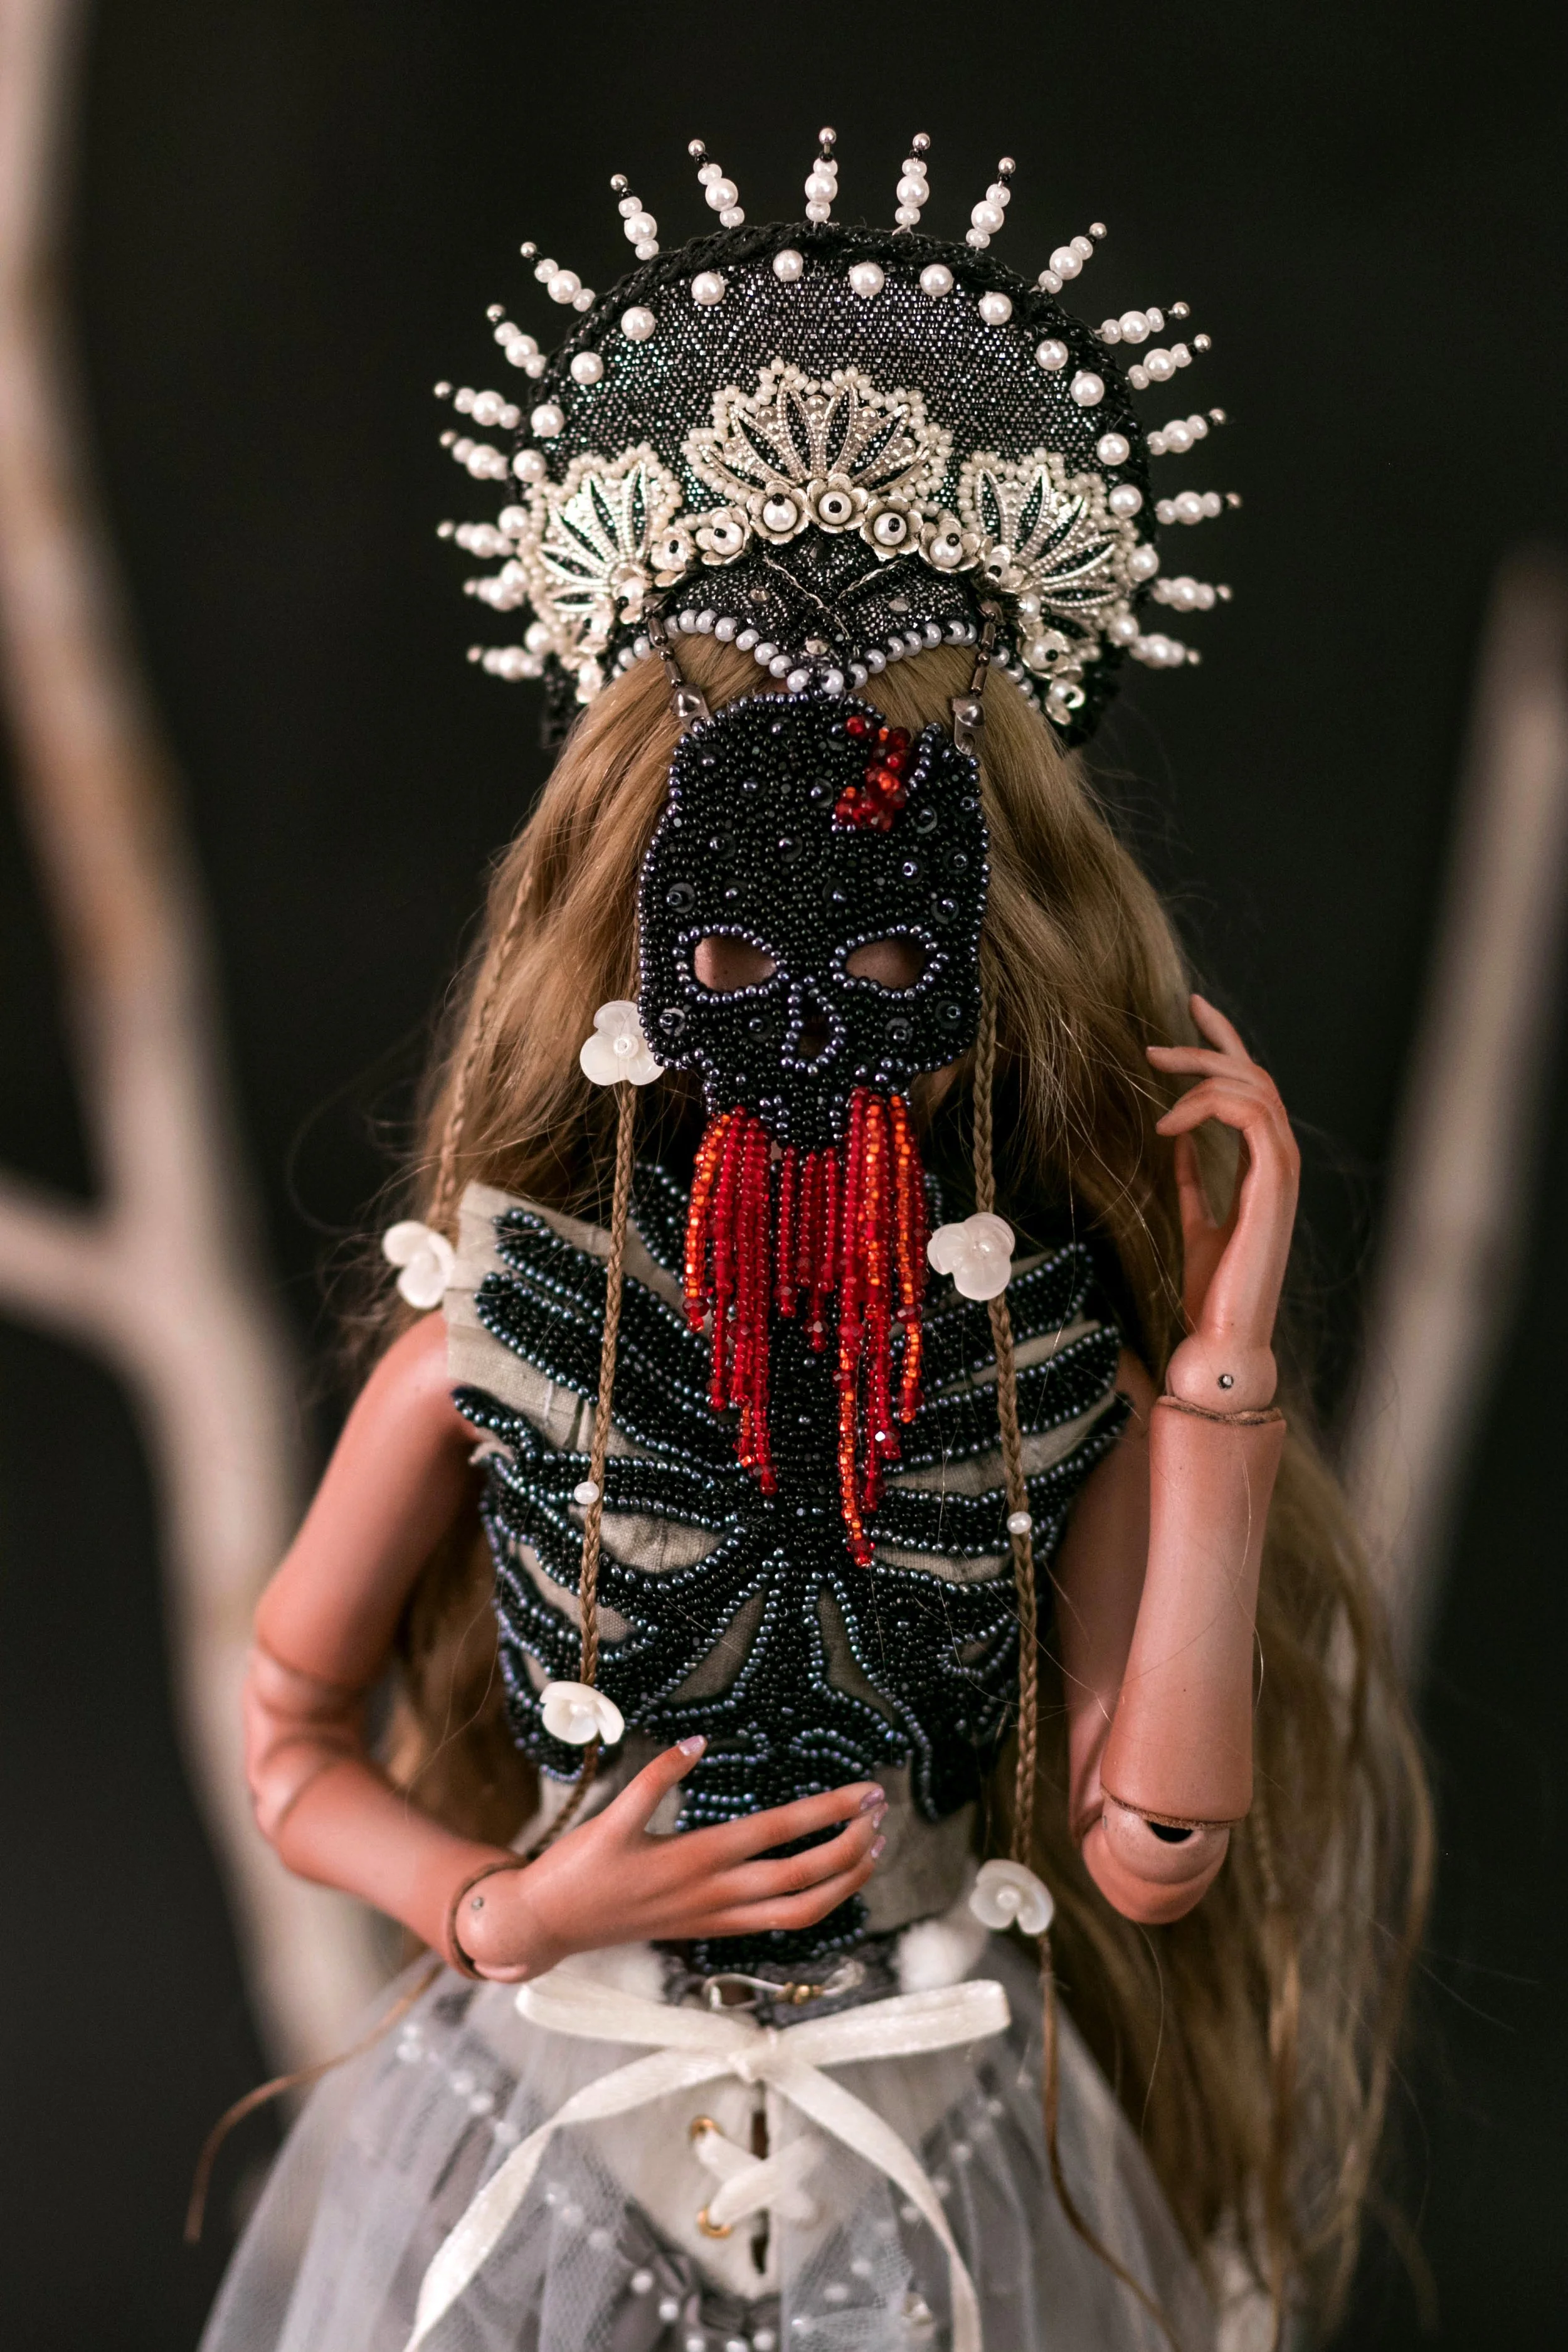
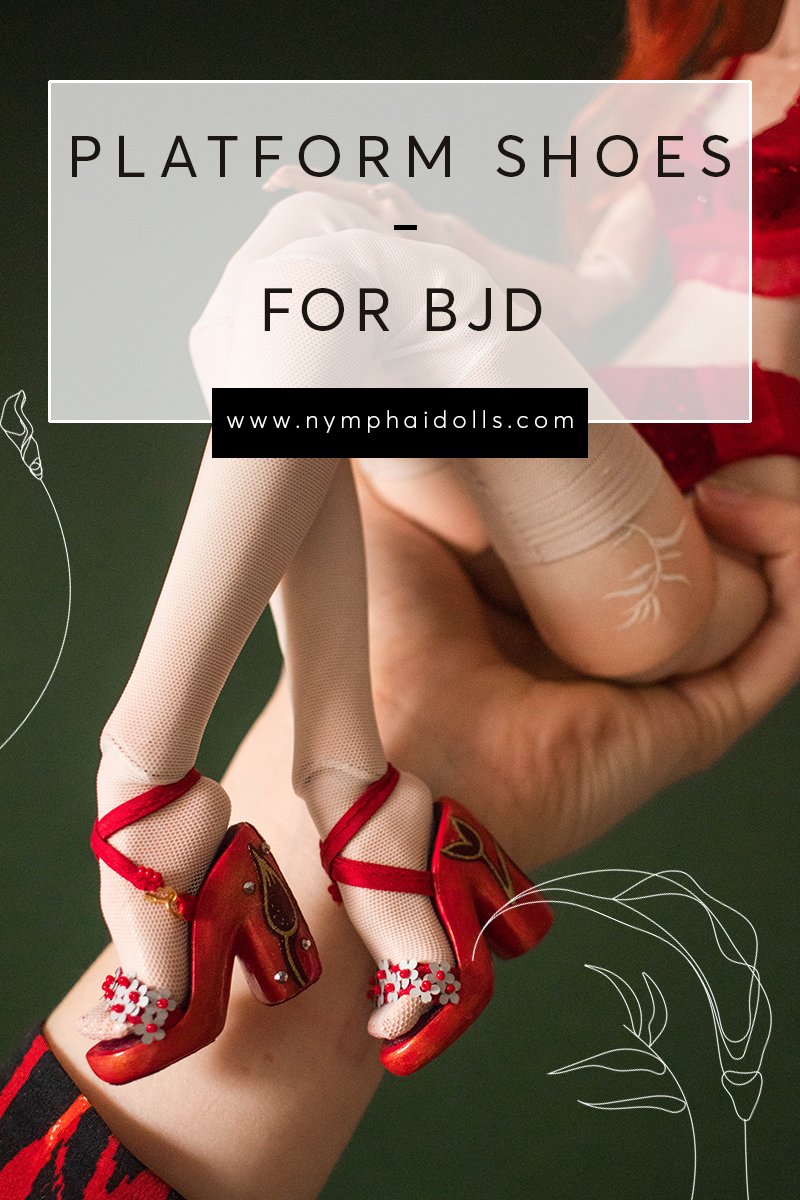
When people think about creating ball-jointed dolls, the first challenges that come to mind are usually the big ones - sculpting the body, engineering the joints, or sewing the costumes. Accessories often feel like something to worry about later. But in my opinion, they’re just as important as the dress or the faceup.