
Hand sculpting tutorial - ebook
Hand sculpting tutorial - ebook
Frustrating and rewarding - intricate art of sculpting hands
28 pages and more than 80 pictures of step by step guides, anatomy lessons and my favourite techniques for sculpting hands.
+BONUS: lesson about making perfect ball-joints
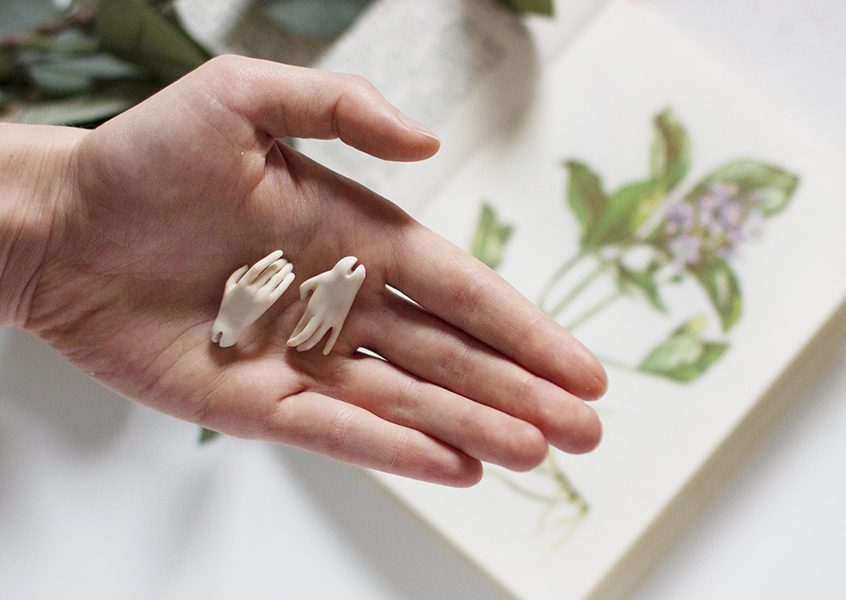
If you ever have seen a ball-jointed doll, maybe you noticed that these lovely dolls have the most characteristic and beautifully sculpted hands. I offer you a chance to learn how to sculpt hands as a BJD artist!
We will delve deep into two of my favourite sculpting techniques. I'll show you each step of the process and back up my teachings with anatomy lessons. This tutorial is best for those who have a little bit of sculpting experience or very determined beginners. Sculpting hands is not easy, but with patience and persistence, everyone can learn how to do it. Let's sculpt some hands!
My students from my BJD sculpting masterclass and art doll making classes get this information for free. If you're a student download it from there.
MATERIALS:
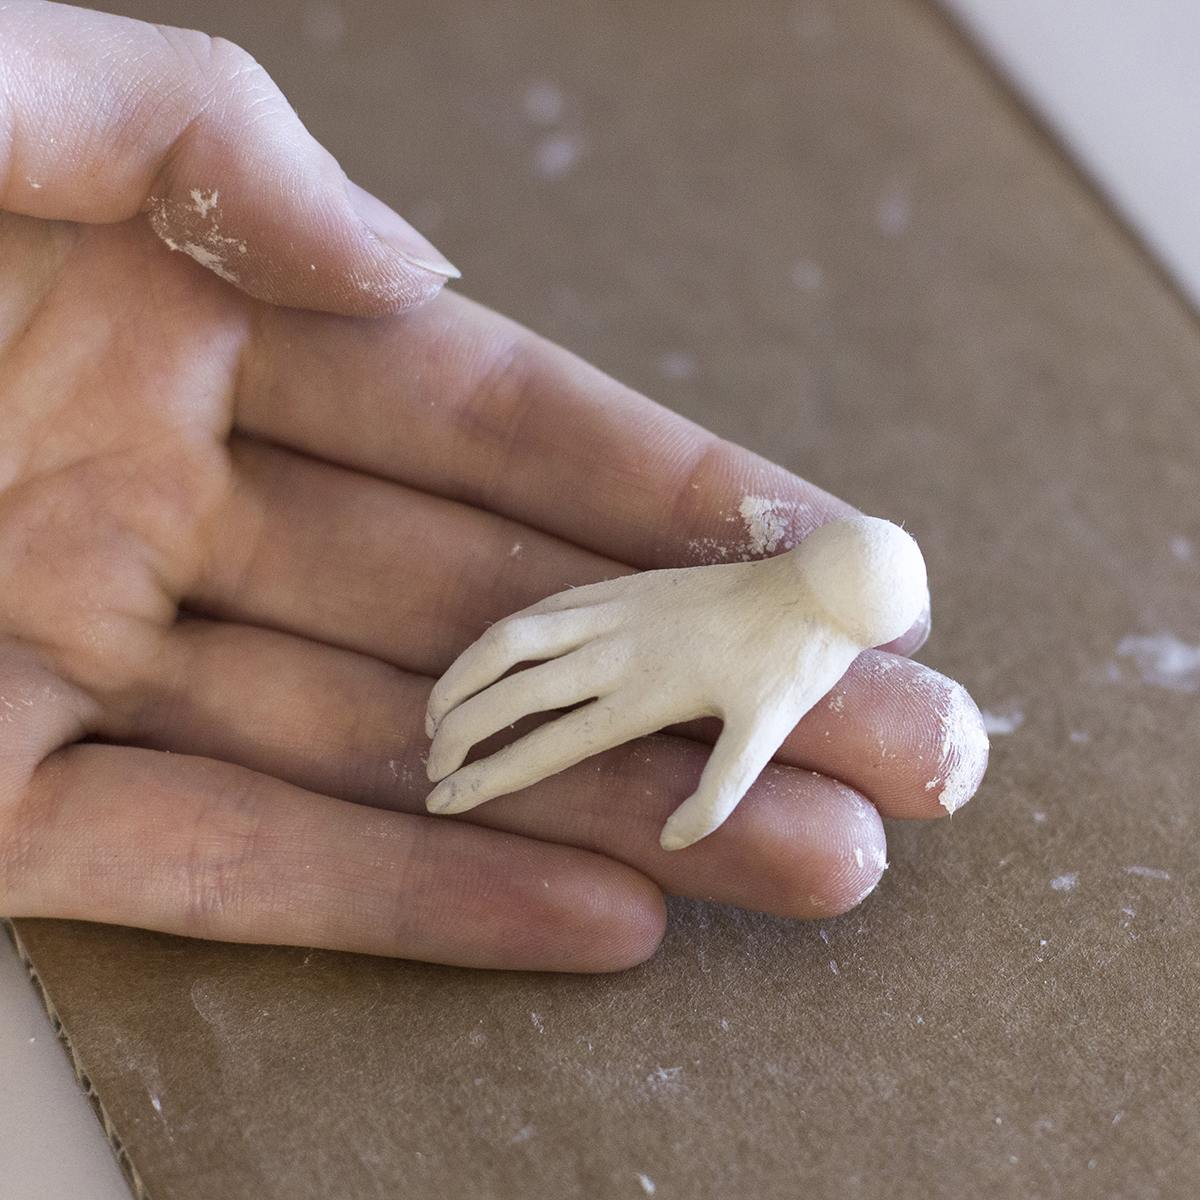
In this tutorial, I'm using air-dry clays. Some of the techniques work best with air-dry clays so if you decide to use polymer clay have that in mind and tweak the process as you follow the tutorial.
1. Your favourite clay. I'm using air-dry clay "La Doll". My other choices would be "Creative Paperclay" or "Premiere".
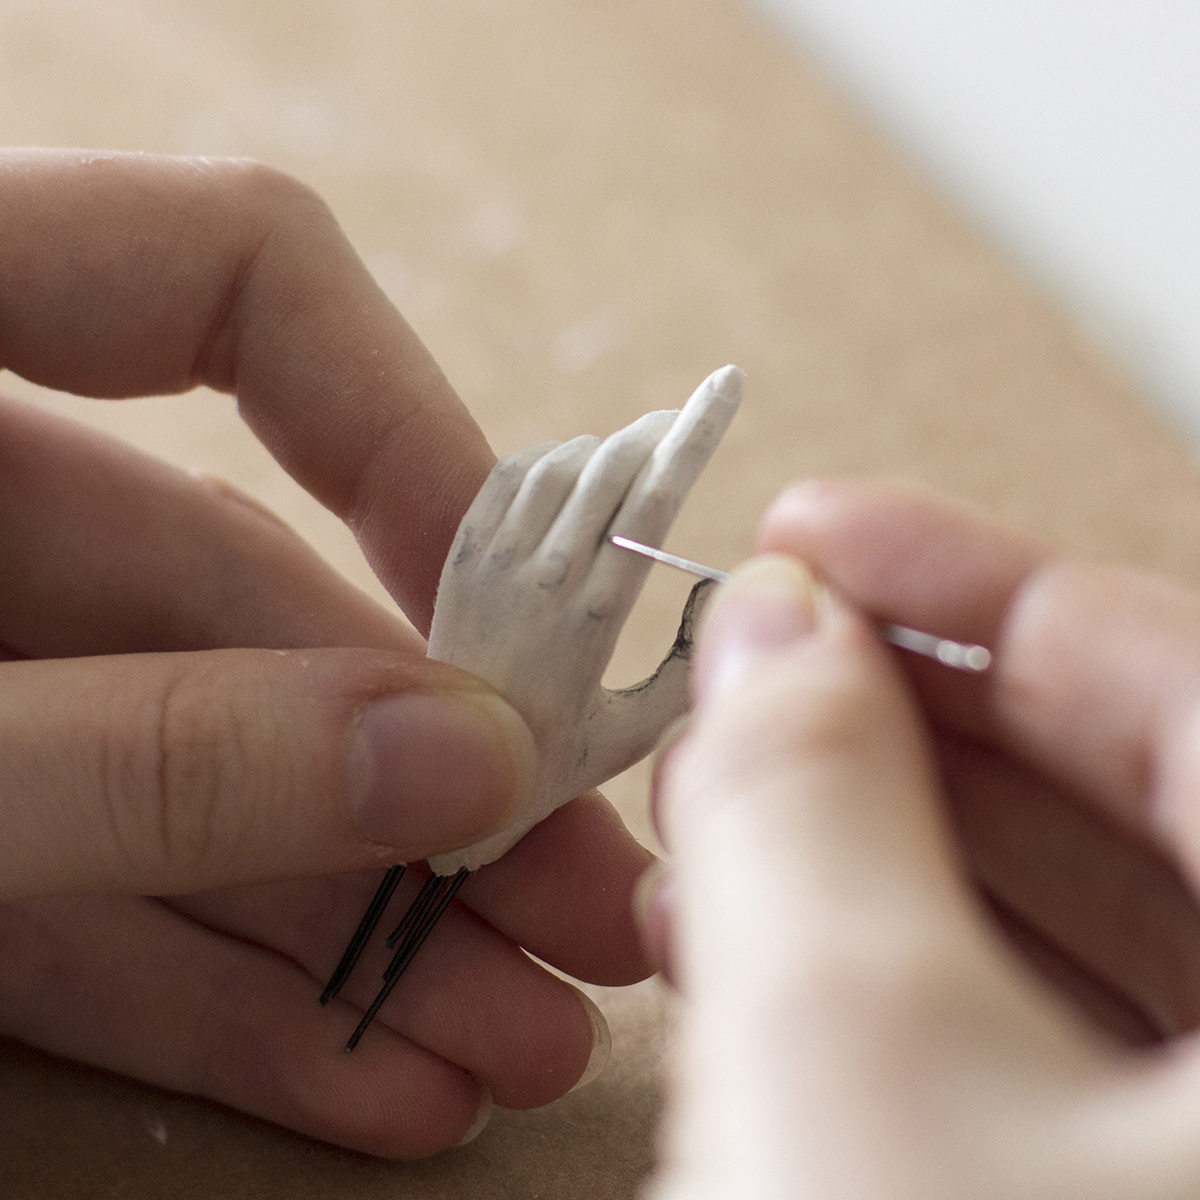
2. Thin wire. I'm using 22 gauge (it can vary from 20 to 24 gauges) bendable wire. It'll be easier if the pieces of wire will be straight.
3. Sculpting tools. For sculpting, I use just one slightly pointy metal tool and a watercolour brush. It's not very common to use a brush for sculpting but it's very hard to smooth out the clay in tiny crevices of the hand with any other tool. So the brush works wonders!
4. X-acto knife or a scalpel. Air-dry clays are very easy to carve so we'll use carving techniques a lot while detailing the hands.
5. "Super glue" or white "Elmers" glue. Some of the techniques will require a few drops of glue.
6. Sanding paper. Have a selection of medium and fine grit sanding papers. Finer paper = smoother finish.
7. Round pliers and wire cutters. Small jeweler's pliers will be the best fit to bend thin and small pieces of wire.
8. Masking tape. We will be using the masking tape to hold pieces of wire together in the first sculpting technique. Any other paper tape will be OK as well.