
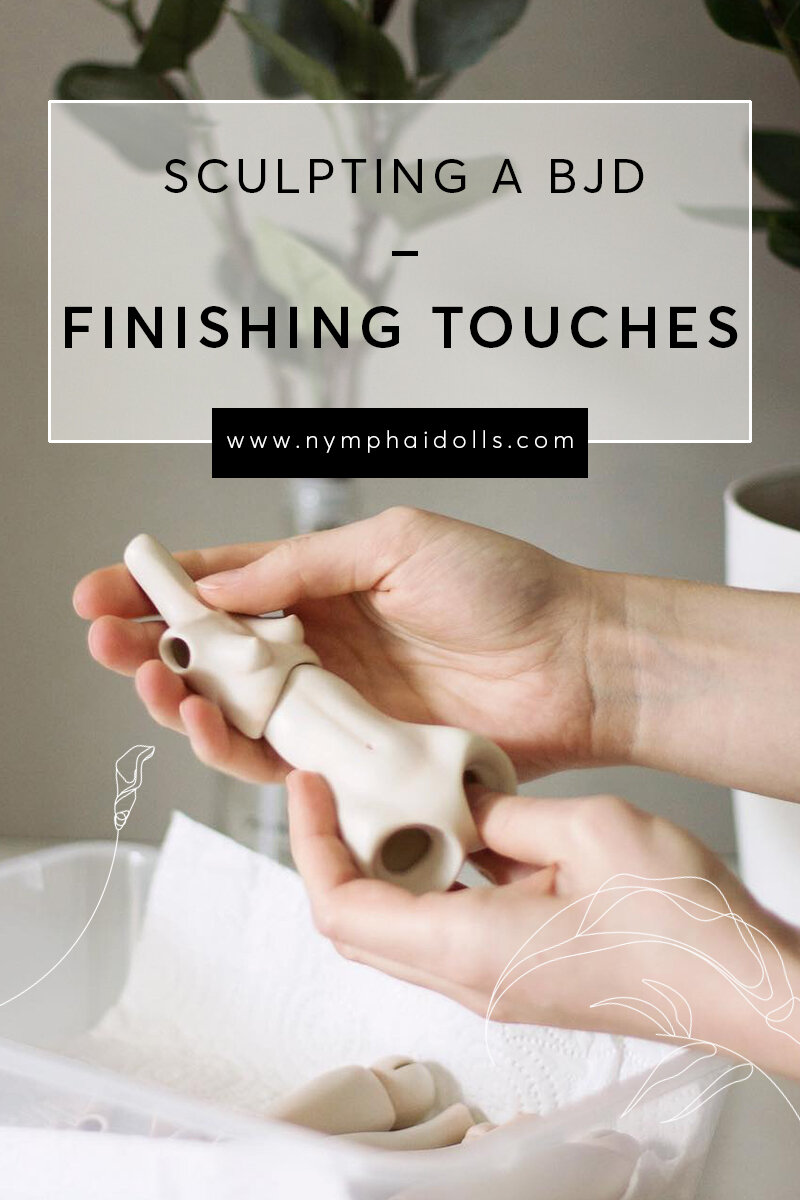
Sculpting a BJD: Finishing touches
I’m continuing the series about sculpting your own BJD. With these articles, I want to shed some light on the long and difficult process of sculpting a ball-jointed doll. Even though ball-jointed dolls getting more and more popular each year, the information about how you could sculpt one is still scarce. In the previous articles we’ve already talked about the first steps and sculpting joints, now it’s time for my favourite part - finishing touches!
This post contains affiliate links and I will be compensated if you make a purchase after clicking on my links. I wouldn’t promote anything I don’t absolutely love!
Detailing
I’m a strong believer in sculpting small details that give so much character to a doll. For example, striking hand pose, detailed feet, visible muscle definition. All these details working in conjunction with simpler parts, like forearms or thighs, create a cohesive doll that has an intricate design to look at. Because you’re sculpting everything from scratch, let your imagination run wild. You have such an advantage against factory-made dolls, use it to create a doll that is completely yours and sculpted just to your liking!

If you’re not sure how to sculpt realistic details, use photo references. I like to draw all the changes I want to make with a pencil straight on top of the clay. Seeing all the markings before sculpting or carving can help to visualise the end result.

For detailing, I like to combine two techniques - sculpting with tiny watercolour brush and carving after the clay has dried.

Sculpting in layers can make a big difference as well. Air-dry clay tends to mush and squish together if you’re not waiting for the previous layer to dry. This can prevent you from achieving clear and crisp details when sculpting.
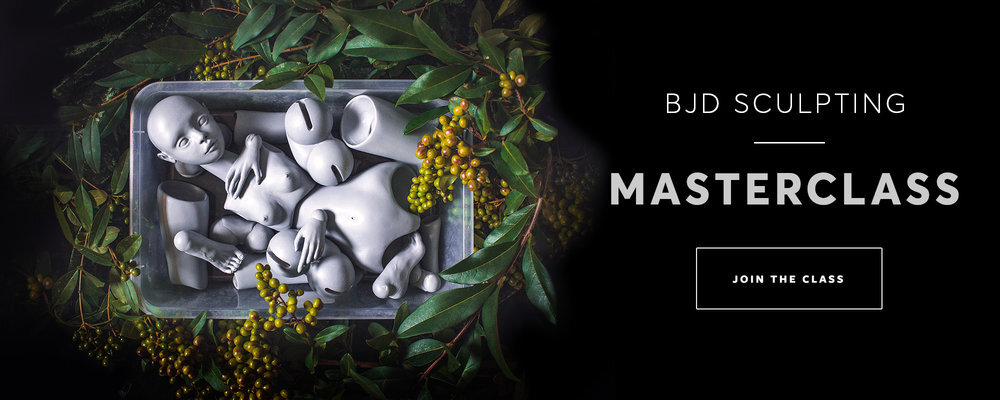
If you want step-by-step instructions about sculpting realistic details, check out my BJD sculpting masterclass.
Test stringing
Once your doll has most of the body sculpted, you can start test stringing every once in a while just to check how the joints move and how it put together. For test stringing, you don’t have to use S-hooks or good quality elastic yet. I simply tie some knots for the elastic stay in place.

At first, stringing might look a little bit intimidating, but I'll share a good tutorial to make it easier for you! Most ball-jointed dolls are connected with two elastics. A little bit thinner (~1,5mm) one for arms and a thicker (~3mm) one for the rest of the body.
Here’s a very cool photo guide about stringing ball-jointed dolls.
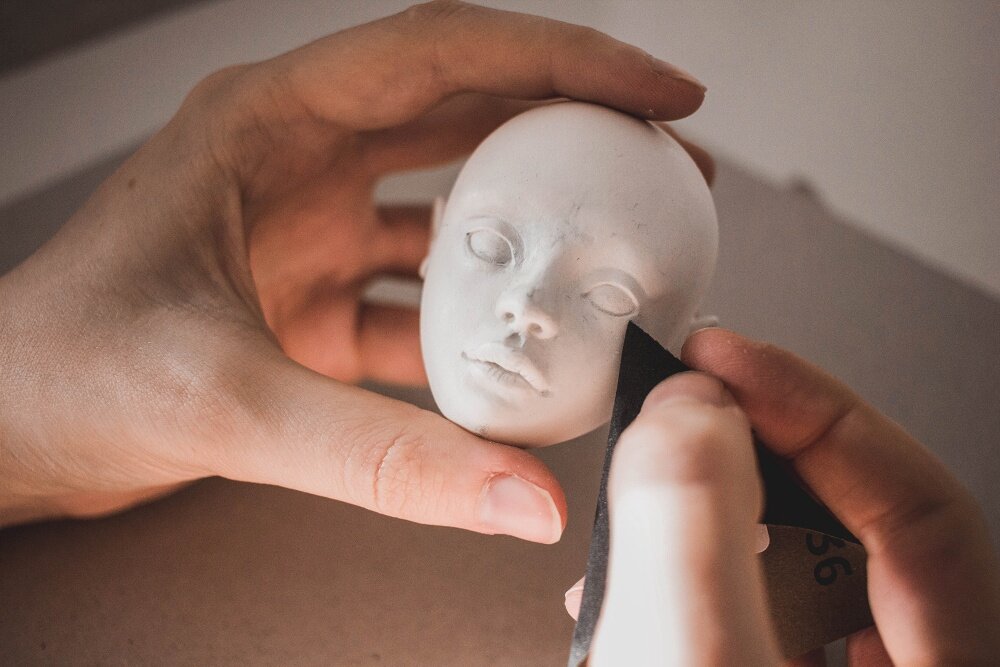
Polishing imperfections and priming
This is probably the most tedious and annoying part of the process, haha. Sanding all the imperfections can take a very long time so be patient! For sanding, you'll need an assortment of different sanding papers, from coarse to very smooth ones. When shopping for sandpaper, you’ll see numbers such as 60-grit, 120-grit, or 200-grit (in some countries the grit numbers might vary, so pay attention not only to numbers but to the sandpaper itself). The higher the number, the finer the sandpaper is. I start with a medium sandpaper (60-120 grit) to polish rough areas and remove larger bumps in the clay, then I move on to fine (160-240 grit) and superfine (400-800 grit) sanding papers to further polish the clay.
Priming is an essential step if you’ll be casting your doll later. It additionally smooths out microscopic imperfections and coats the clay with a protective layer. I use Mr. Surfacer 1200 or simple grey primer that is used for cars. Because the primer is grey, it might be more difficult to paint your doll later. If you’re not planning to cast your doll in resin or porcelain I suggest paint it with acrylic spray paint after priming or skip the primer altogether.

I hope this article helps if you’re just starting out in this journey. Creating your own ball-jointed doll might be difficult but it’s such a rewarding process. Let me know if you have any questions in the comments below and don’t forget to check out my BJD sculpting masterclass!

SCULPTING A BJD FROM AIR-DRY CLAY: FIRST STEPS
A few years ago when I was just trying to understand how ball-jointed dolls actually work, there was almost no information about the topic. Now, people are sharing a little bit more on Instagram or Facebook groups, but it still is a very mysterious form of art. And if you want to try and sculpt a doll yourself, you’re kinda left on your own. With these posts, I hope to shed a little bit of light on the process and maybe inspire you to sculpt your own BJD!